
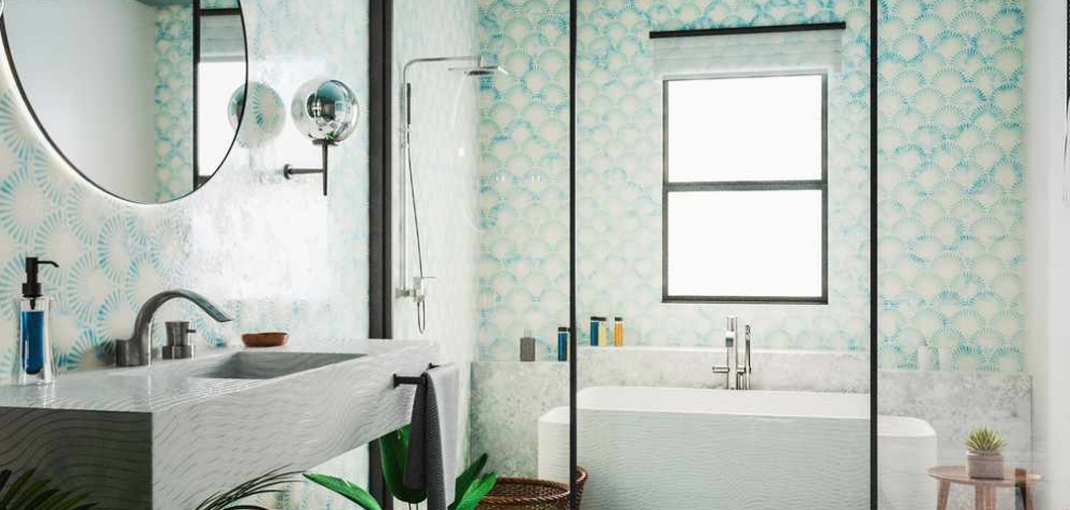
Your bathroom’s walls have the power to redefine its entire look and feel. In this blog, we’ll explore the top 7 stunning wall textures that can effortlessly elevate your bathroom’s style. These textures are not only visually appealing but also quick and easy to implement, making them perfect choices for a bathroom makeover.
Let’s dive in and discover the possibilities for transforming your bathroom space.
Why Bathroom Wall Textures Matter
Your bathroom is a haven of relaxation and personal care, and the texture of its walls plays a crucial role in setting the right ambience. The right wall texture can:
Create Mood: It can turn your bathroom into a spa-like retreat or a cosy sanctuary, setting the mood for your daily routines.
Add Visual Interest: Textured wall bathroom add depth and visual interest, breaking the monotony of plain surfaces.
Conceal Imperfections: They cleverly hide wall imperfections, making your bathroom look fresh and polished.
Reflect Your Style: Choose a texture that matches your personality and interior style, from rustic to contemporary.
Stay Timeless: Wall textures are versatile and complement various decor styles, ensuring your bathroom remains stylish through changing trends.
The Top 7 Bathroom Wall Textures
Let’s dive into the exciting world of bathroom wall texture. These top 7 textures can breathe new life into your space and elevate its aesthetics.
1. Sponged Texture:
- This technique employs a simple kitchen sponge to create a soft and subtle texture on your bathroom walls.
- It’s perfect for adding depth and interest to your space without overwhelming it.
- The sponged texture for bathroom walls can work beautifully with various colour palettes, making it a versatile choice for any bathroom style.
2. Knockdown Texture:

- Knockdown texture is known for its adaptability and elegant appearance.
- Achieved by troweling the texture compound onto the walls and then gently knocking it down with a trowel to create a textured wall bathroom yet smooth finish.
- It’s a versatile choice that can match both traditional and modern bathroom designs.
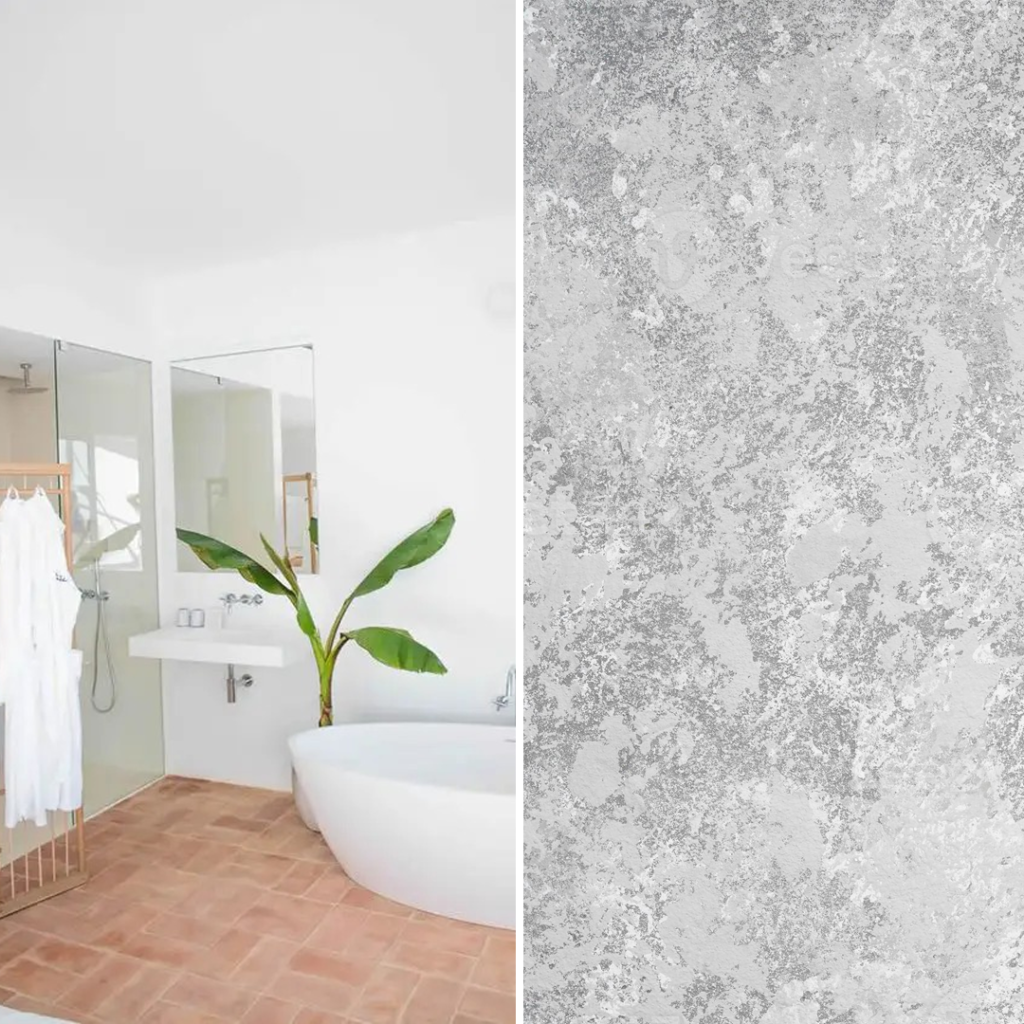
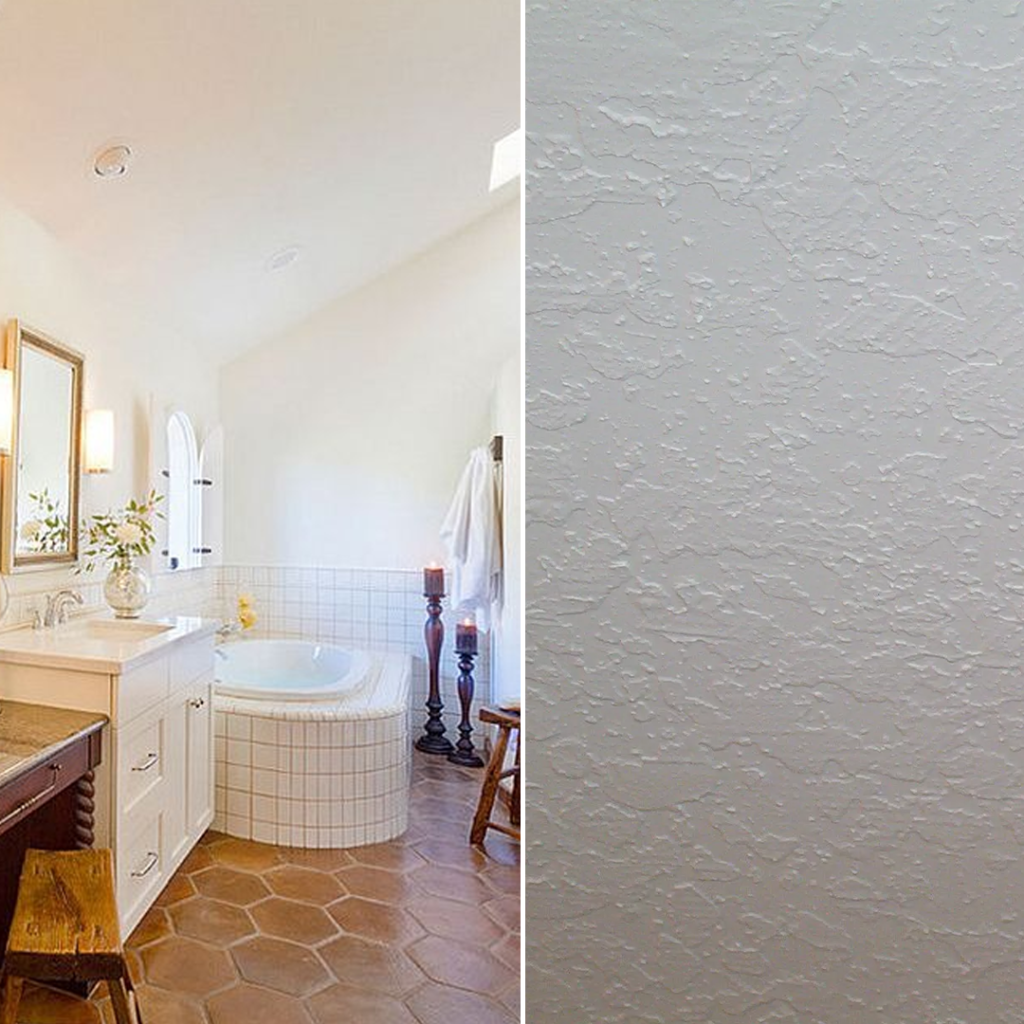
3. Stucco Texture:
- If you’re aiming for a touch of Mediterranean charm or a rustic vibe, stucco texture is an ideal choice.
- This classic texture is created by applying a thicker layer of texture compound and then using a trowel to create a rough, uneven surface.
- It’s known for its durability and timeless appeal.
4. Skip Trowel Texture:
- Skip trowel texture for bathroom walls offers a hand-troweled look that’s both light and sophisticated.
- Achieved by applying a layer of texture compound and then lightly troweling over it, creating subtle, elegant lines and curves.
- This texture is ideal for those who appreciate a touch of refinement in their bathroom design.
5. Slap Brush Texture
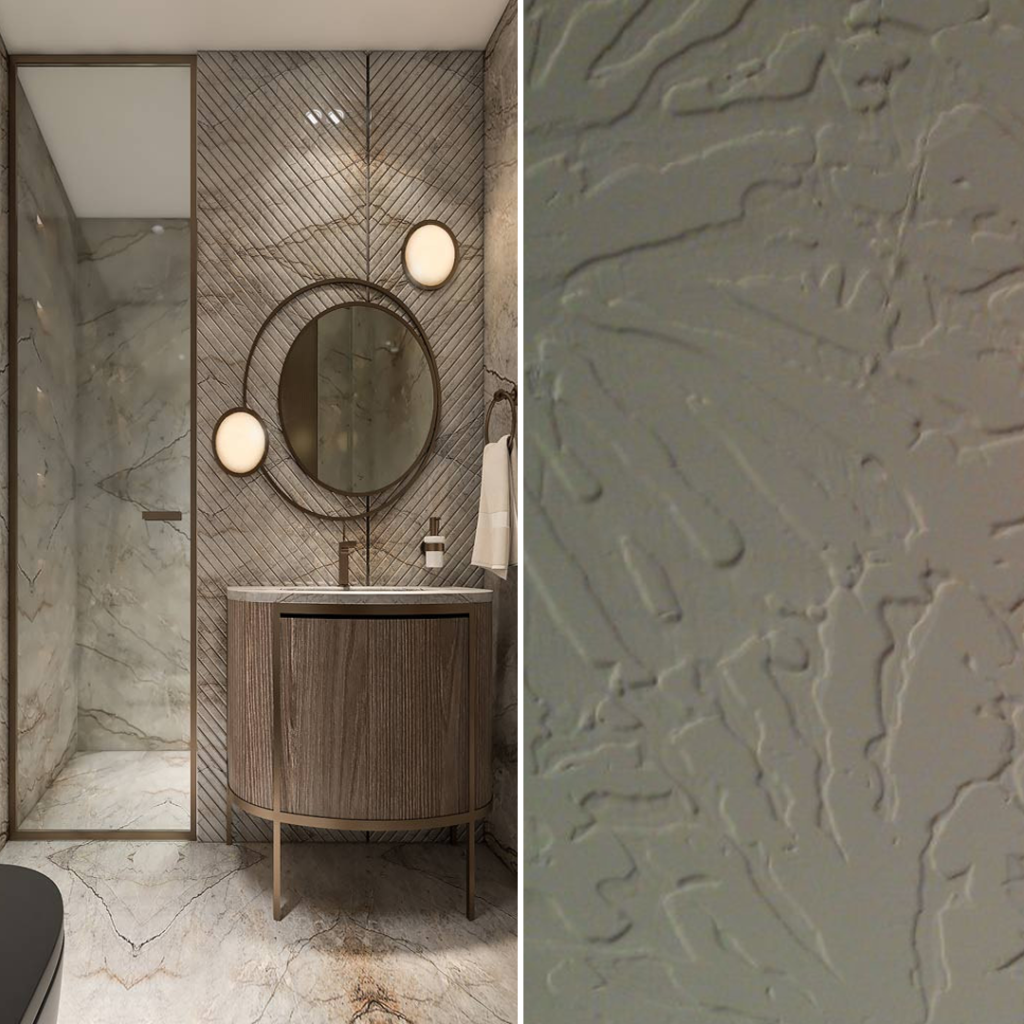
- Slap brush texture is a fun and playful option that adds character to your bathroom walls.
- To create this texture, you simply slap a brush onto the wet texture compound, resulting in a textured pattern with a creative, artistic feel.
- It’s a great choice if you want to infuse your bathroom with a touch of whimsy and energy.
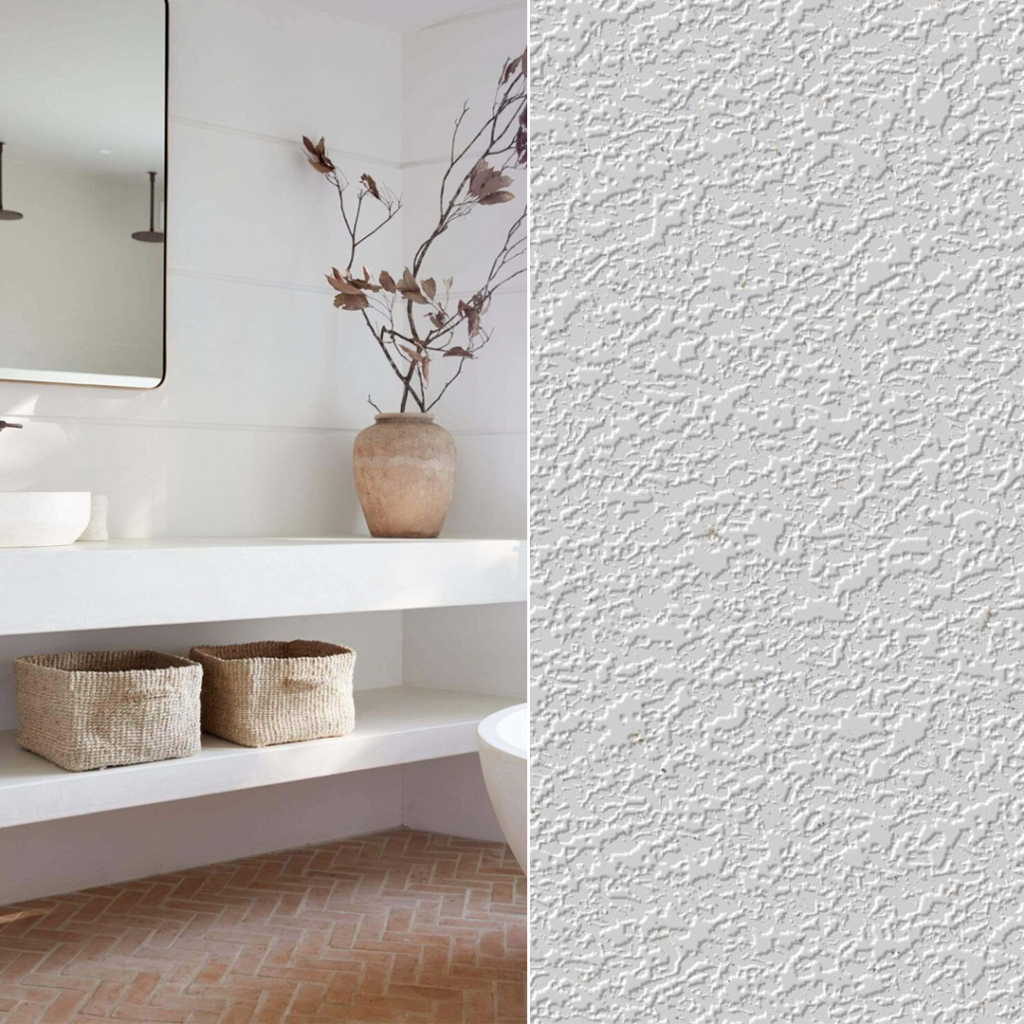
6. Orange Peel Texture
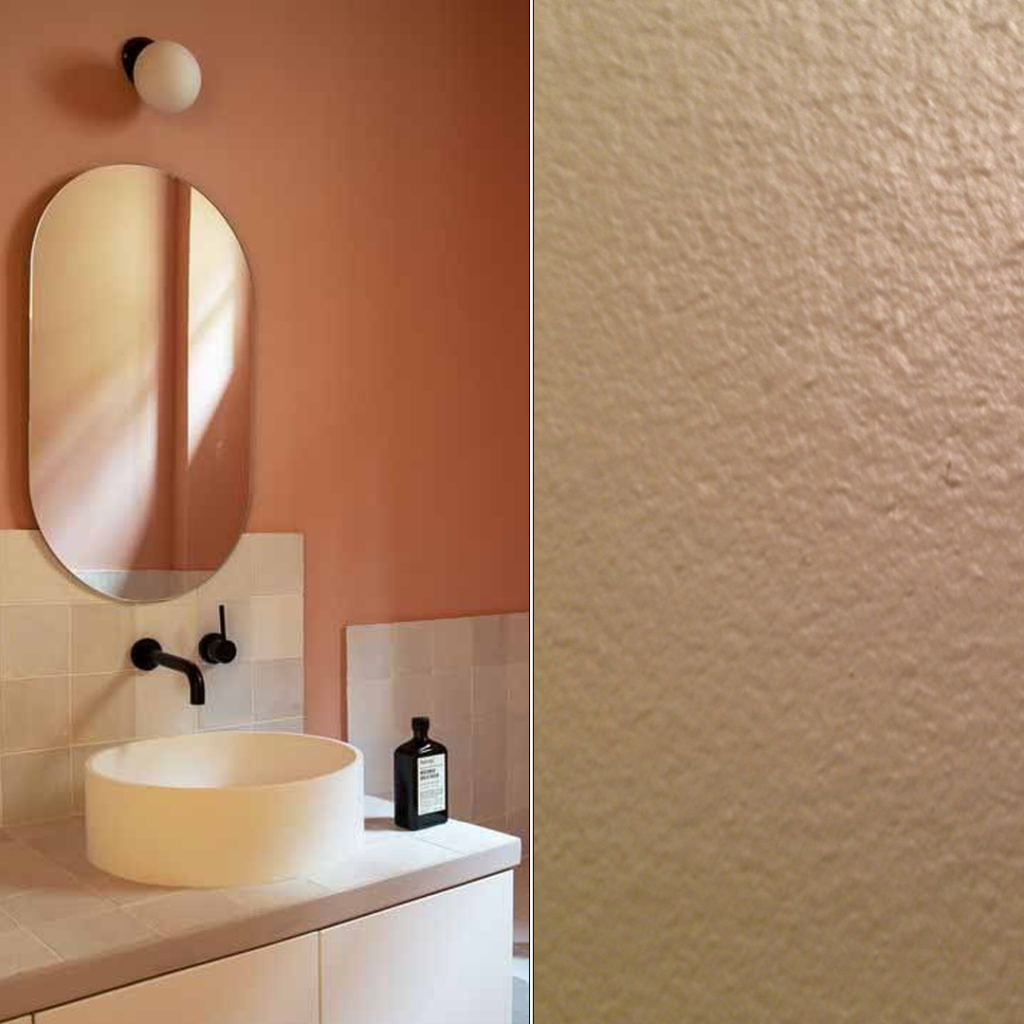
- Orange peel texture, with its light and bumpy surface, is a visually appealing option that’s relatively easy to apply.
- It gets its name from the resemblance to the texture of an orange’s skin.
- This texture strikes a balance between smooth and textured, making it suitable for a wide range of bathroom styles, from contemporary to traditional.
7. Venetian Plaster:
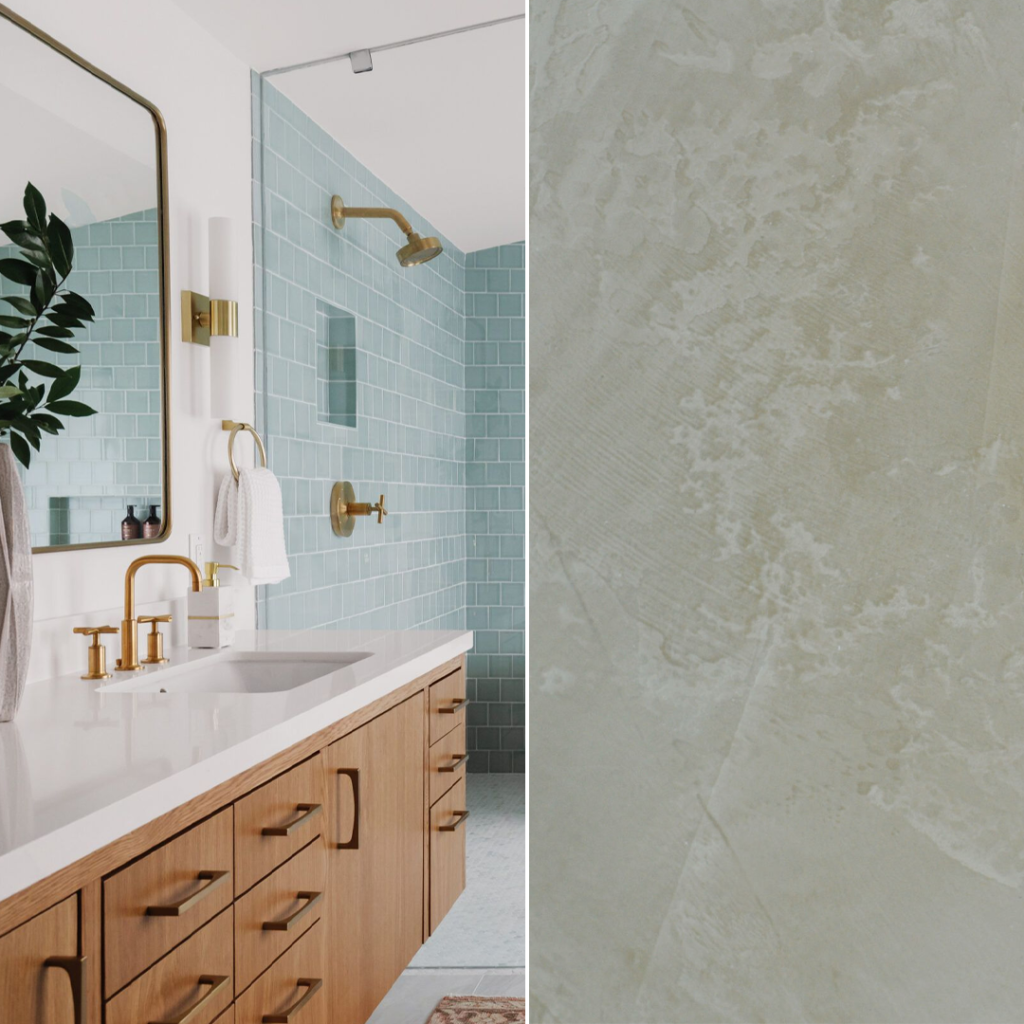
- Venetian plaster india is a luxurious and glossy texture that can transform your bathroom into a work of art.
- It can mimic the look of polished marble or stone, adding an elegant and timeless touch to your space.
- Achieving this texture involves applying multiple layers of plaster and burnishing them to create a smooth, reflective surface that exudes opulence.
Materials and Tools You’ll Need
The good news is that these upgrades won’t require an extensive shopping list or a professional construction crew. Here’s what you’ll need:
Materials:
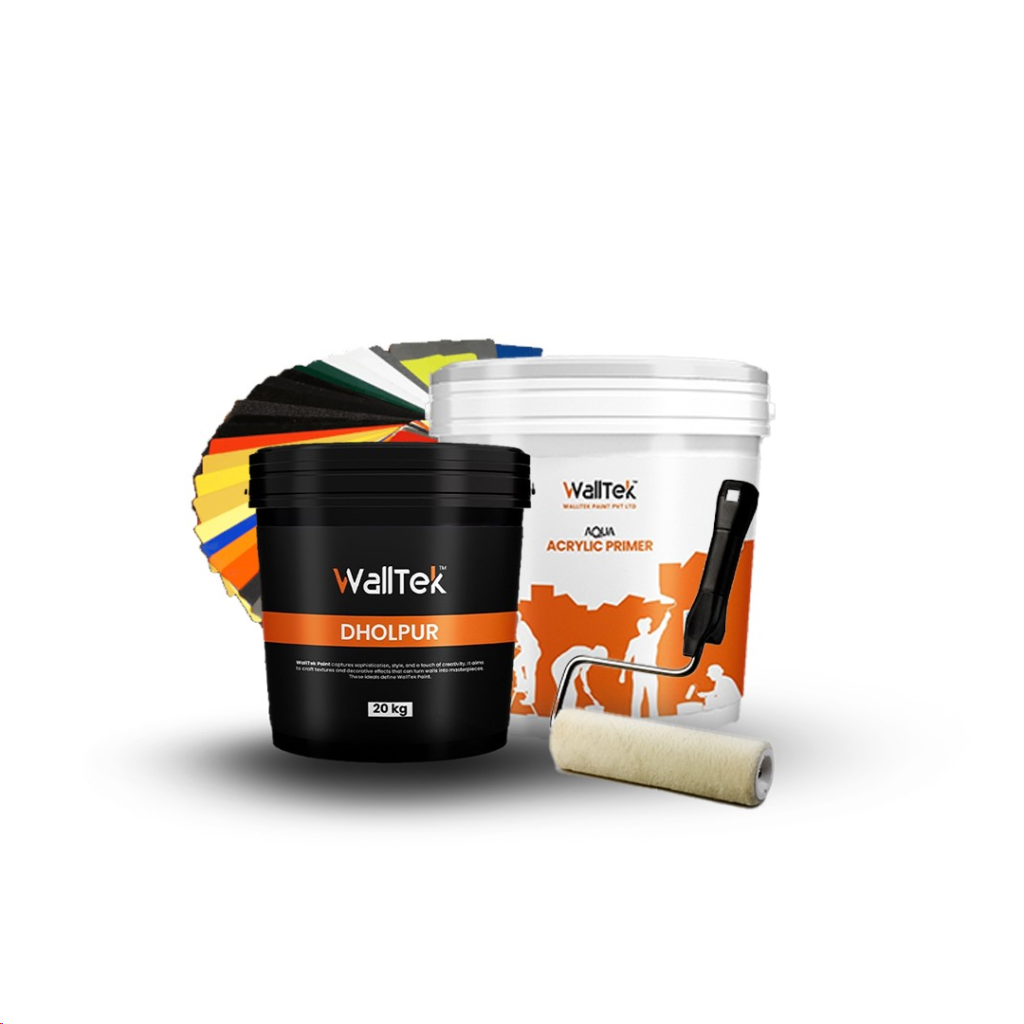
- Primer: To prepare the walls for texture application.
- Texture compound: The core material for creating wall textures.
- Paint: If you plan to paint over the textured surface, choose your desired colour.
- Texture additives (optional): You can add materials like sand or small stones to create custom textures.
Tools:
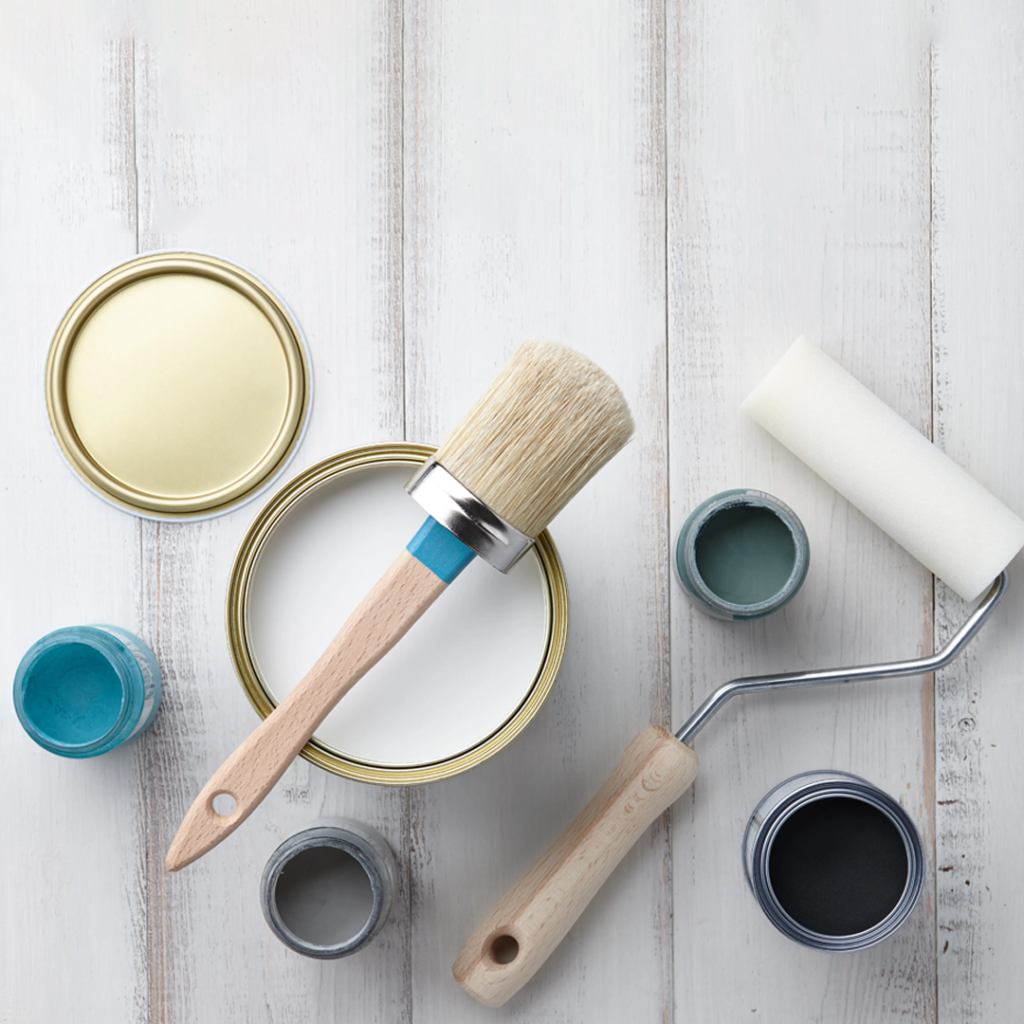
- Paint roller or sprayer: To apply the texture compound.
- Trowel or putty knife: For creating and manipulating textures.
- Drop cloths: To protect your bathroom fixtures and floors from spills.
- Sandpaper: For smoothing and finishing the textured surface.
- Safety gear: Wear safety goggles, gloves, and a dust mask when working with texture compounds.
The procedure will go more smoothly and enjoyably if everything is prepared.
How to Apply These Bathroom Wall Textures:
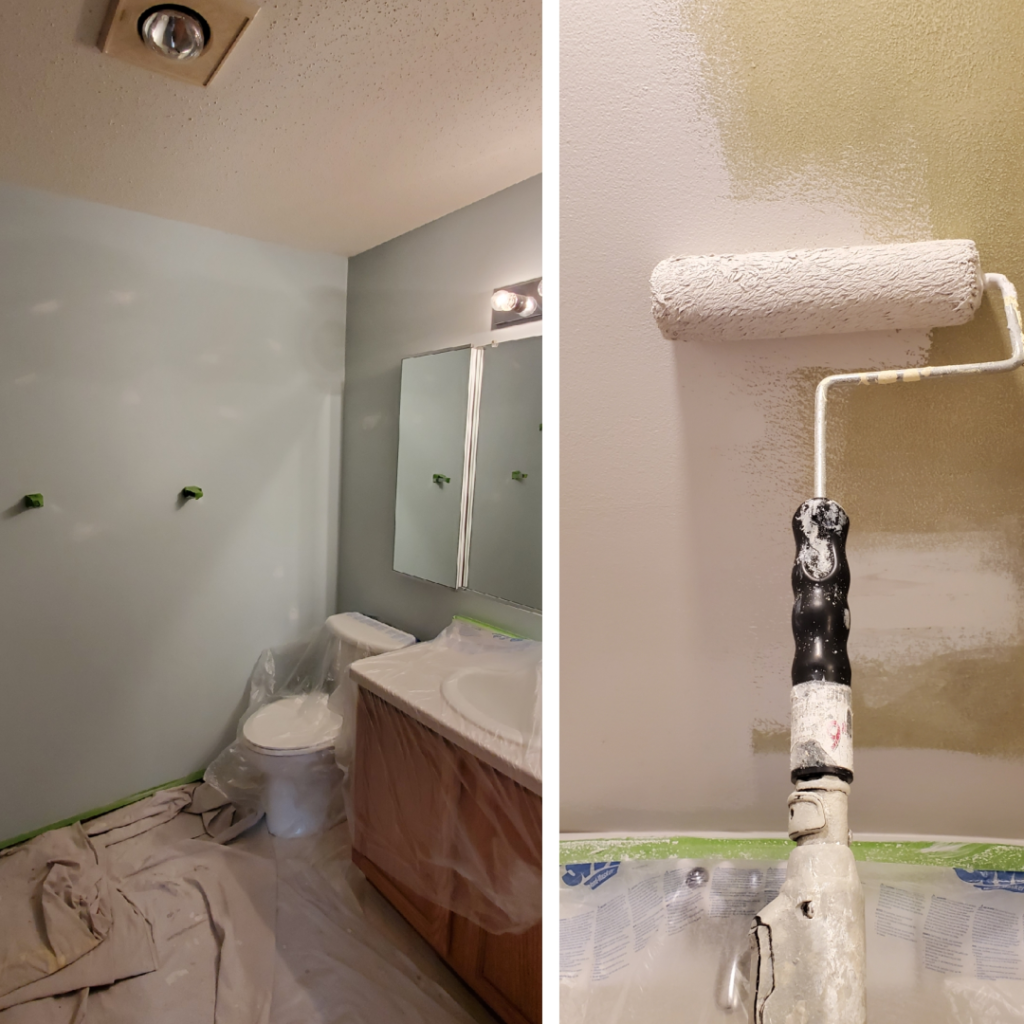
Now that you’ve been introduced to the top 7 stunning wall textures for your bathroom, it’s time to learn how to bring these textures to life. Each texture offers a unique visual experience, and the application process varies for each:
Prepare Your Workspace:
Begin by protecting your bathroom fixtures and floors with drop cloths to prevent any unwanted mess or damage.
Ensure proper ventilation in the space to allow for quick drying of texture compounds.
Prepare the Surface:
Wash the walls to get rid of any grease, dirt, or outdated paint. Apply a primer to create a smooth and even surface for texture application.
Mix the Texture Compound:
Mix the texture compound according to the manufacturer’s directions. It’s essential to achieve the right consistency.
Apply the Texture:
The specific technique for applying each texture will vary. Follow the detailed instructions for the texture you’ve chosen.
Dry Time:
Allow sufficient time for the texture to dry. This duration can vary based on the texture type and the manufacturer’s recommendations.
Finishing Touches:
Once the texture is dry, you may need to sand the surface lightly to achieve the desired smoothness.
If you plan to paint the textured walls, choose your paint colour and apply it evenly.
Clean Up:
Properly clean your tools and dispose any waste material.
Conclusion
With these top 7 bathroom wall textures, you have the tools to turn your bathroom into a work of art. Choose your favourite texture, follow the simple steps, and watch as your bathroom is transformed into a space that reflects your style and personality.
The power to create a stunning bathroom is now in your hands, and the possibilities are endless. Happy texturing!
Are bathroom wall textures durable and long-lasting?
The durability of a texture depends on factors like material quality and application. Properly applied textures can last for many years.
Can I remove or change a textured wall if I change my mind later?
Yes, you can remove or retexture your bathroom walls with proper preparation. However, it may involve some work to revert to a smooth finish.
What's the best way to match bathroom wall textures with existing decor?
To create a harmonious look, consider the colours and materials already present in your bathroom and choose a texture that complements them.
Do these textures hide imperfections in the walls effectively?
Yes, many of these textures are great at concealing minor imperfections, such as small cracks or uneven surfaces.
What are the most common mistakes to avoid when applying bathroom wall textures?
Common mistakes include uneven application, insufficient preparation, and not following the manufacturer's instructions. Taking your time and being meticulous can help you avoid these pitfalls.